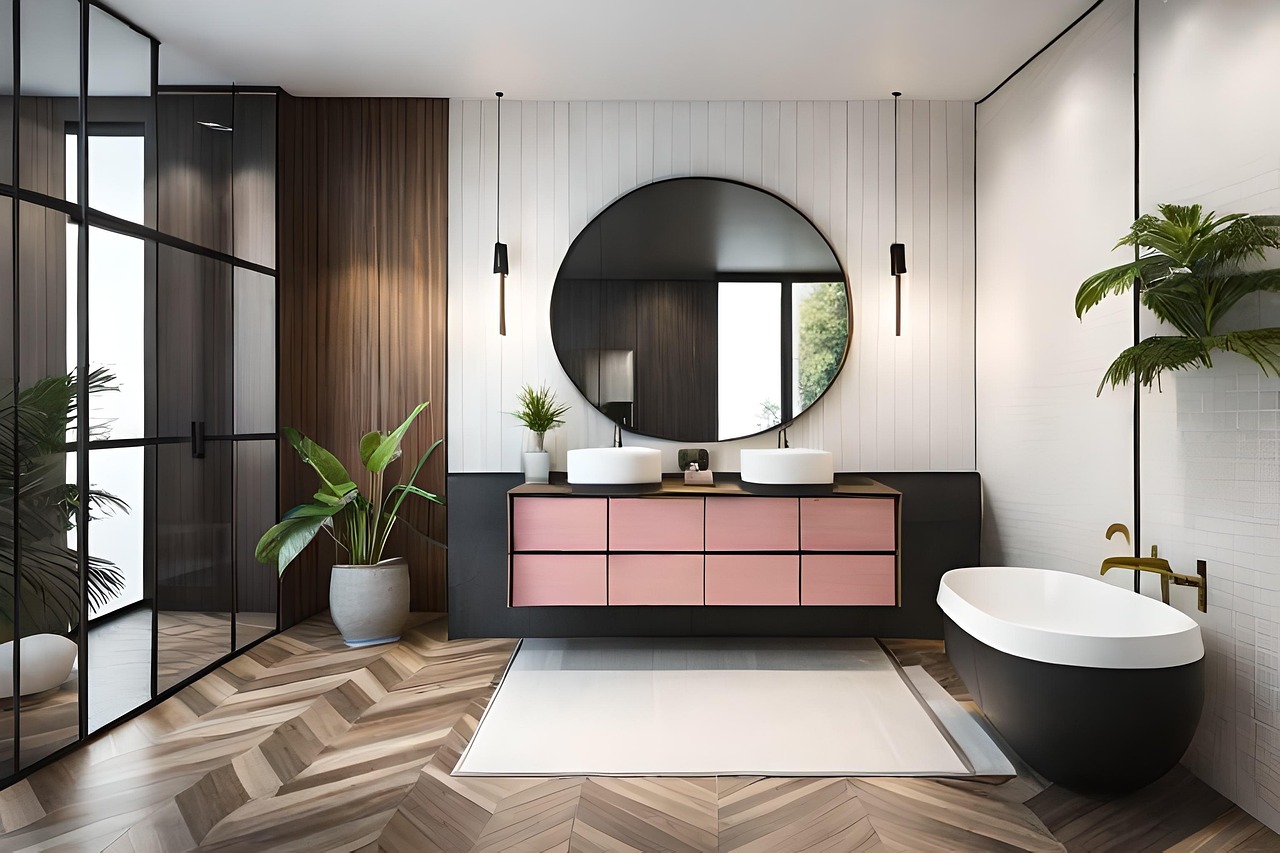
.png)
Energy-Saving Bathroom Fixture Installation
A practical guide to Energy-Saving Bathroom Fixture Installation for reducing water and energy use.
Energy-Saving Bathroom Fixture Installation
As a seasoned SEO specialist and content strategist with over a decade of experience, I have seen how thoughtful bathroom upgrades can dramatically cut water and energy use while boosting home value. This guide focuses on Energy-Saving Bathroom Fixture Installation, offering practical steps, cost estimates, and actionable tips for homeowners and professionals alike. By following these best practices, you can improve comfort, reduce utility bills, and demonstrate reliability to readers seeking trustworthy, data-driven advice.
What is energy-saving bathroom fixture installation?
Energy-saving bathroom fixture installation involves selecting and correctly installing water and energy efficient fixtures that reduce flow rates, trigger smart sensors, and minimize hot water demand. The goal is to deliver the same level of comfort with less water and energy, which lowers monthly bills and reduces environmental impact. This approach aligns with building codes and eco-friendly home upgrades while preserving performance and user satisfaction.
Key fixtures that save water and energy
Low-flow faucets and aerators
Low-flow faucets typically use 1.5 to 1.8 gallons per minute (GPM) compared with older standard faucets around 2.2 GPM. Replacing an aerator or the entire faucet can cut water use without sacrificing perceived pressure. Installation is straightforward: shut off water, unscrew the old aerator, install a compliant aerator (look for labeled values such as 1.5 GPM), and test for leaks. For best results, pair low-flow faucets with energy-efficient hot water settings to reduce standby energy in the heater as well.
Dual-flush and high-efficiency toilets
Dual-flush and high-efficiency toilets dramatically reduce toilet water usage. Typical high-efficiency toilets operate at 1.28 to 1.6 GPF (gallons per flush) versus older models that can exceed 3.5 GPF. When installing or upgrading, consider bowl height compatibility, rough-in size, and proper venting. A professional installation ensures proper seal and performance, while DIY replacements require careful attention to wax rings, bolts, and flange condition to prevent leaks.
Showerheads and water-efficient showers
Water-efficient showerheads commonly range from 1.5 to 2.0 GPM, down from the traditional 2.5 GPM. The experience should remain comfortable due to better nozzle design and consistent spray patterns. When selecting a showerhead, look for accredited efficiency labels and ensure compatibility with existing shower arms and water pressure. Simple upgrades can deliver noticeable water and energy savings with minimal effort.
Sensor-activated and automated fixtures
Sensor taps and timed showerheads help prevent vanity leaks and keep hot water use to a minimum. These fixtures turn on only when needed, reducing both water waste and the energy used to heat water. Installation involves wiring or battery power, confirming compatible voltage, and integrating with existing electrical boxes or hot water supply lines. Professional installation is often recommended for electrical safety and code compliance.
Installation considerations
Before purchasing or installing energy-saving fixtures, assess several practical factors. First, check your home's water pressure and supply line condition; very low pressure can affect performance of aerated faucets and low-flow showers. Second, review local building codes and potential permit requirements for toilet replacements, venting, or electrical work associated with sensor fixtures. Third, verify compatibility with your current plumbing rough-in and flange spacing. Finally, consider the total cost of ownership including parts, installation labor, and potential hot water savings, which can substantially impact the payback period.
DIY vs professional installation
- DIY advantages: lower upfront costs, quick upgrades for simple fixtures like aerators and showerheads, and direct control over project timeline.
- DIY risks: improper water seal, leaks, improper drainage, or electrical issues with sensor fixtures; some jurisdictions require licensed installers for toilets and electrical work.
- Professional installation advantages: ensuring code compliance, proper venting and shutoff valves, guaranteed performance, and access to warranty repairs.
Cost, payback, and efficiency
Understanding cost and payback helps homeowners decide which upgrades make sense. Typical installed costs vary by fixture type, and savings depend on usage and local utility rates.
- Low-flow faucet replacement: approximately 150–300 for installation. Annual savings vary but commonly range from 20 to 60, depending on faucet use and hot water costs. Payback often within 1–3 years.
- Dual-flush toilet upgrade: roughly 250–500 installed. Estimated annual savings around 60–150, with payback commonly 2–4 years.
- Showerhead upgrade: 50–120 installed. Savings typically 20–50 per year; payback 1–3 years.
- Sensor faucet installation: 300–700 installed. Savings depend on usage and battery life; payback can range from 5 to 15 years, with longer horizons for energy-only gains but quicker for water-use reductions.
Keep in mind that these ranges are approximate and influenced by fixture quality, local water rates, and hot water costs. A simple, well-planned upgrade, combined with routine maintenance, yields the best long-term value.
Comparison table: Traditional vs high-efficiency fixtures
| Fixture Type | Typical Flow Rate (GPM) | Pros | Cons | Typical Cost (USD) | Estimated Payback |
|---|---|---|---|---|---|
| Traditional bathroom faucet | 2.2 | Simple, available, low initial cost | Higher water use, higher hot water demand | 80–180 | 2–5 years |
| Low-flow faucet with aerator | 1.5–1.8 | Significant water savings, easy install | May require new aerator seating for some models | 120–250 | 1–3 years |
| Dual-flush toilet | 1.28–1.6 (new) vs 3.5–4.5 (old) | Major water reduction, quiet operation | Higher upfront cost, installation complexity | 250–500 | 2–4 years |
| Water-efficient showerhead | 1.5–2.0 | Easy upgrade, noticeable savings | First-time spray feel may differ | 50–120 | 1–3 years |
| Sensor-activated faucet | Variable, off when not in use | Reduced waste, consistent performance | Requires electrical/power considerations | 300–700 | 5–15+ years |
Maintenance and longevity
Maintenance is key to preserving energy and water savings. Check aerators and showerheads for mineral buildup every 6–12 months and replace worn seals promptly. Some sensor fixtures rely on batteries or low-voltage power; test sensors regularly and replace batteries as needed. A proactive maintenance schedule helps ensure consistent savings and extends fixture life, preserving the value of your energy-saving bathroom fixture installation over time.
Conclusion
Conclusion, adopting Energy-Saving Bathroom Fixture Installation practices provides measurable reductions in water and energy use while maintaining comfort and convenience. Start with a targeted set of upgrades such as low-flow faucets, a dual-flush toilet, and a water-efficient showerhead, then add sensor fixtures where appropriate. Plan for proper installation, verify code compliance, and factor in local energy and water costs to estimate payback accurately. With professional input where needed, you can achieve a reliable, long-lasting upgrade that enhances home performance, saves money, and supports sustainable living for years to come.